WordPress was originally a blog platform so the default way to create content is to write blog posts. When you publish blog posts in WordPress your readers will see your last post at the top and all other posts will appear in a reverse chronological order as is common on blogs. In order to utilize the knowledge you have about site architecture and usability for other concepts than blogs, you need to know how to use pages, links and menus. This article aims to show you how.
Making a page in WordPress is simple enough. You can click the Pages option in your Dashboard to see all your pages and add new ones, or you can simply hover over the ‘Pages’ option on the dashboard menu and choose ‘Add new’ to immediately start working on a new page. The editor is near identical for pages and blog posts so it is easy to add headings, images, paragraphs, links and all the other elements that make up a web page.
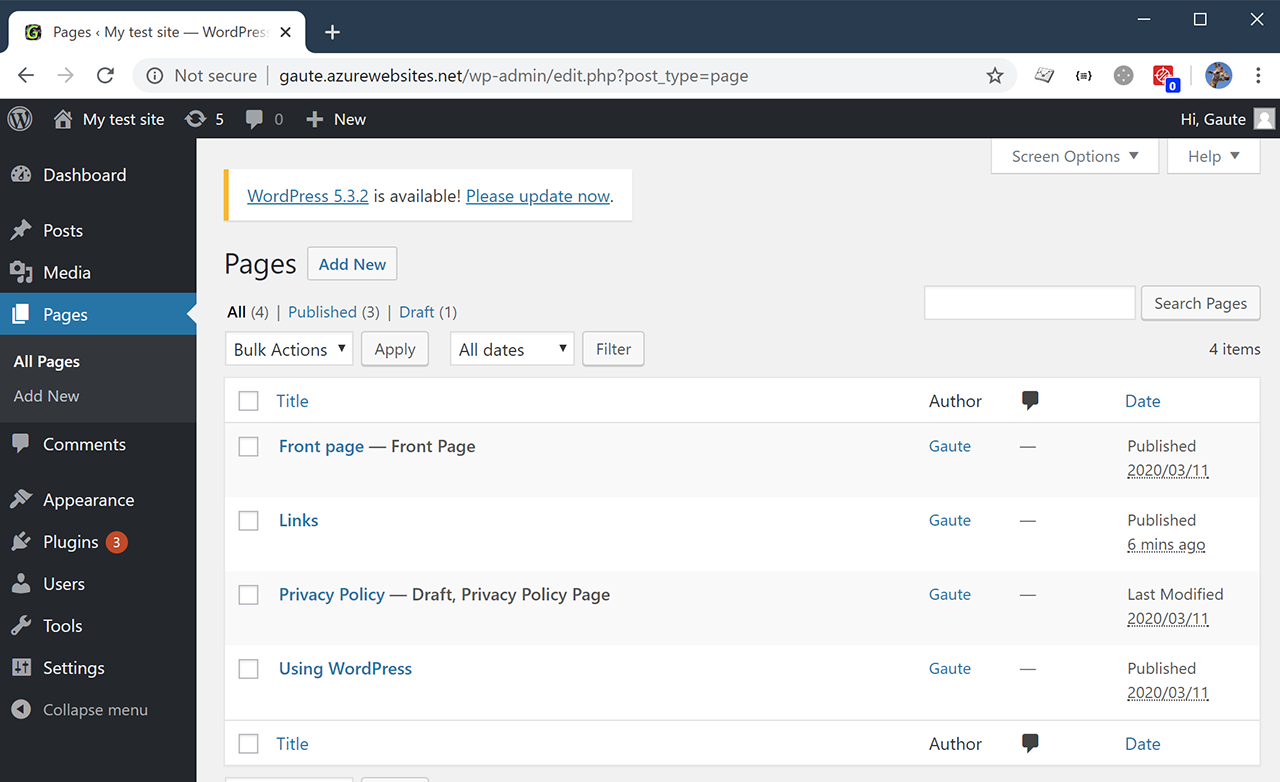
Unlike blog posts your pages don’t automatically appear on your front page when you click publish. Depending on the theme you are currently using the page might appear in a menu. If you are using Generatepress all top level pages (more about this later) will appear in the menu on the front page. Here are my current pages as seen in the dashboard on my test blog:
It is time to try this yourself. First make two pages that will serve as your top level pages. When you make a new page this is default so there is no need to do anything other than make a heading, some dummy text and hit publish.
Your page will still show blog posts on the front page. You can change this by going to Appearance > Customize. In the Customize menu click on ‘Homepage Settings’ and you should see this menu.
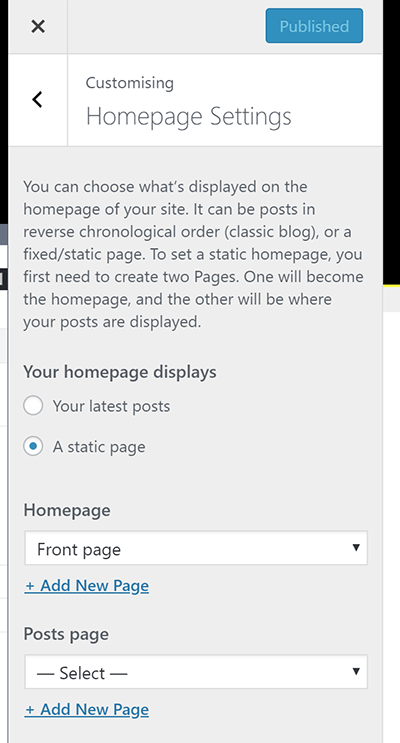
The default option is that the homepages displays your latest posts. Here I have changed it to display a static page. You then have to specify which page is going to act as you Homepage. You can also set a page to show your posts.
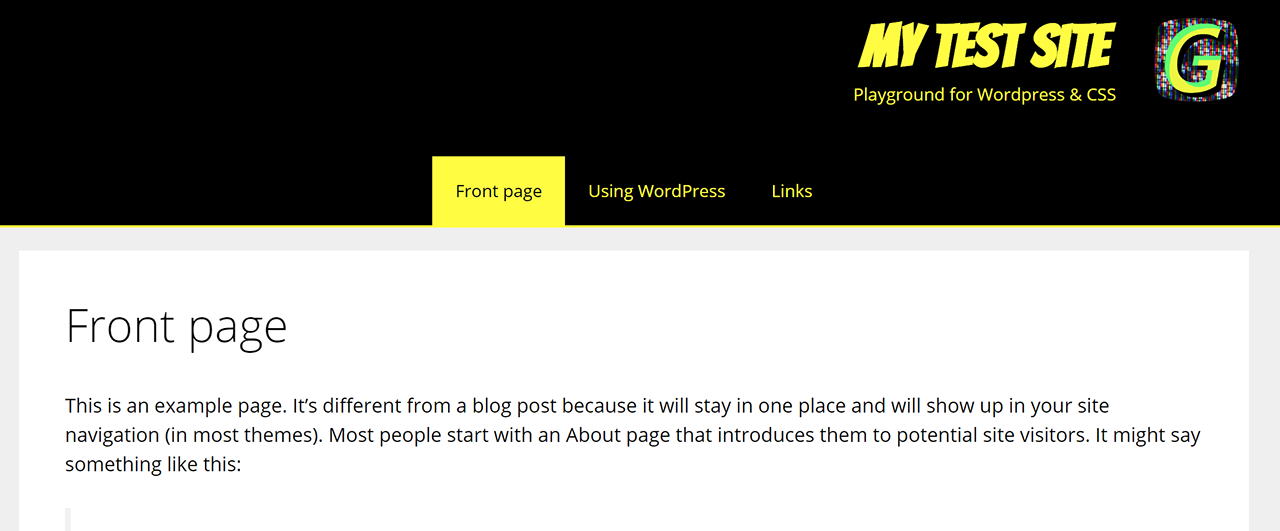
Choose one of your own pages as you Homepage and click the blue ‘Publish’ button. Open up your site in a different browser or in Incognito mode to see it without being logged in. Be aware that these blogs might take a while to update what is displayed externally. If you can not see your changes yet try using the preview mode. My site now looks like this.
Make a sub page
If you are using GeneratePress the top level pages will be added to the menu above, and sub pages of the top level pages will be visible in a drop down menu. This is not the case for every theme. With some themes the pages might not be added to a menu at all, others might add only top level pages. How the menu is displayed by default can also vary from theme to theme. I reccommend investigating this when you are considering a theme for a project.
In order to make a sub-page you simply make another page. When you are editing a page (or a post), notice how the menu to the right changes depending what element you click on. If you click on a paragraph on your page or an image the menu on the right will reflect what type of block (element) you are currently working with. If you click left or right of the block the right hand menu will reflect options for the entire page (or post). A bit down on this menu there is a section called ‘Page options’ and there you can choose a parent page. Here is my menu with two levels of sub pages.

Keep reading how to style your header and navigation with CSS